Manual Metadata Onboarding
Manual Metadata Onboarding
Note: the individual user permissions Metadata Manager or Metadata Editor are required to manually input metadata or upload a .json file of metadata.
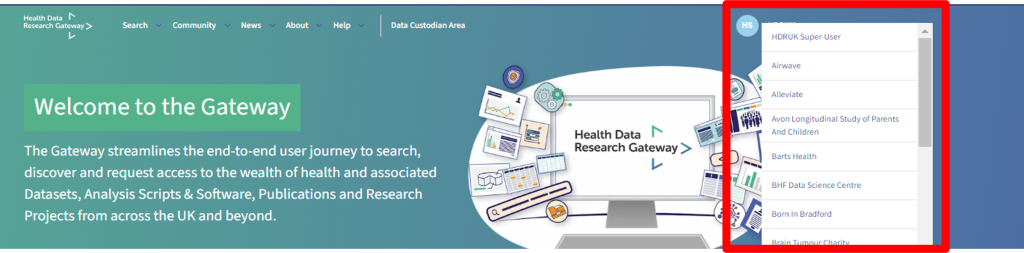
Navigate to your Team by signing in to your account and selecting the team’s name from underneath your name.
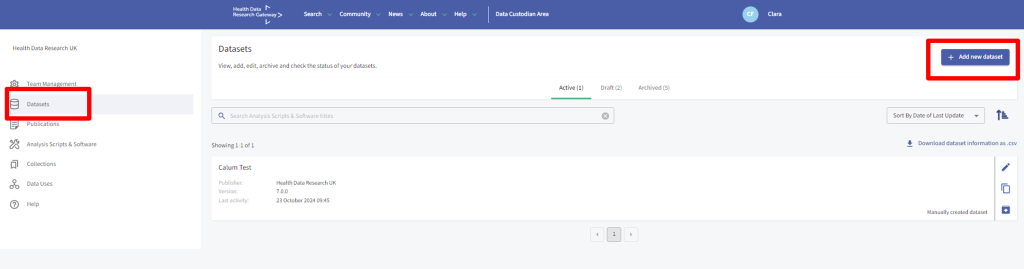
Select the ‘Datasets’ option and then select the ‘Add new Dataset’ button.
(1) Manually input metadata by online form
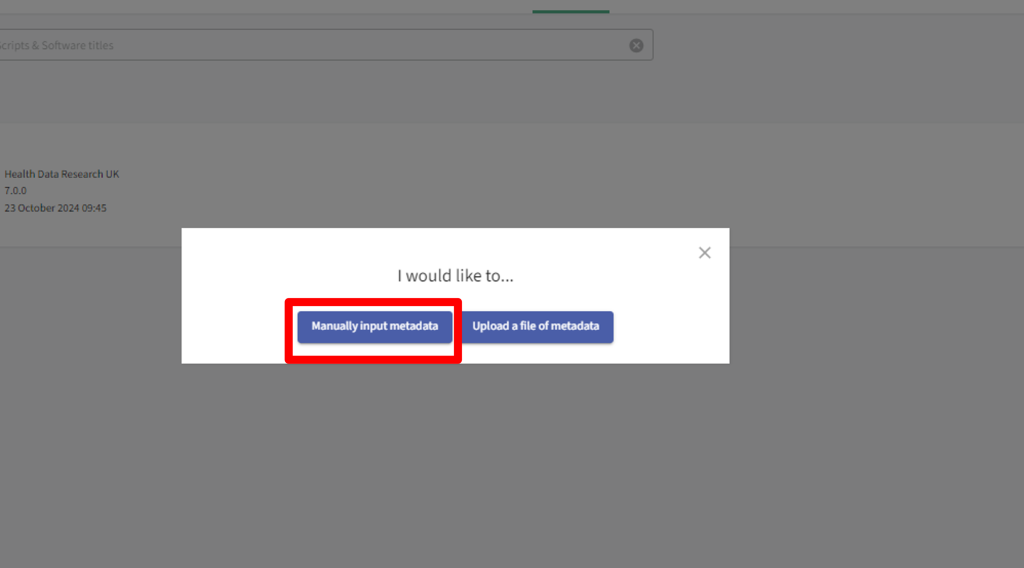
To manually input metadata for your team (1), select the option ‘Manually input metadata’.
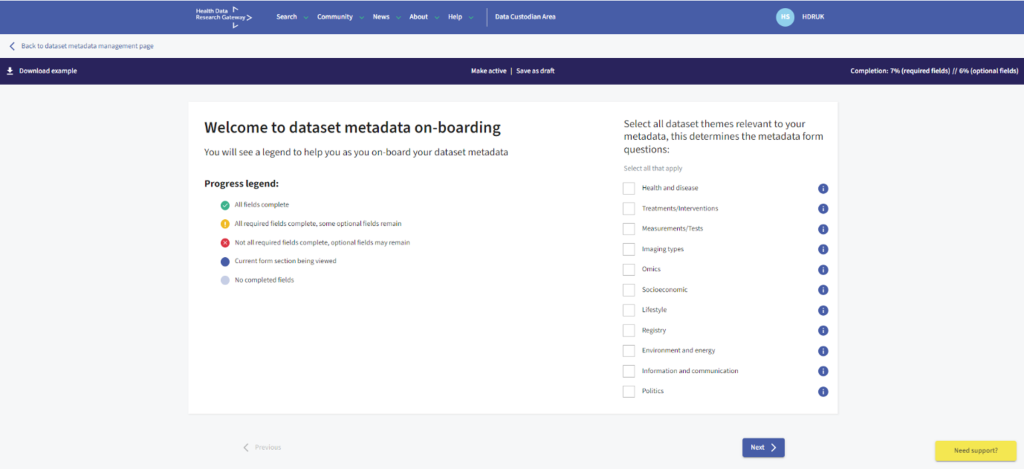
After clicking ‘Manually input metadata’, the welcome to Dataset metadata onboarding page opens. It includes a progress legend to help you as you onboard your Dataset metadata and a list of Dataset themes, please select all Dataset themes which are relevant to your metadata. This will adjust the form thereafter, only showing you relevant fields according to the data type selected.
After clicking ‘Next’, the Summary section is displayed.
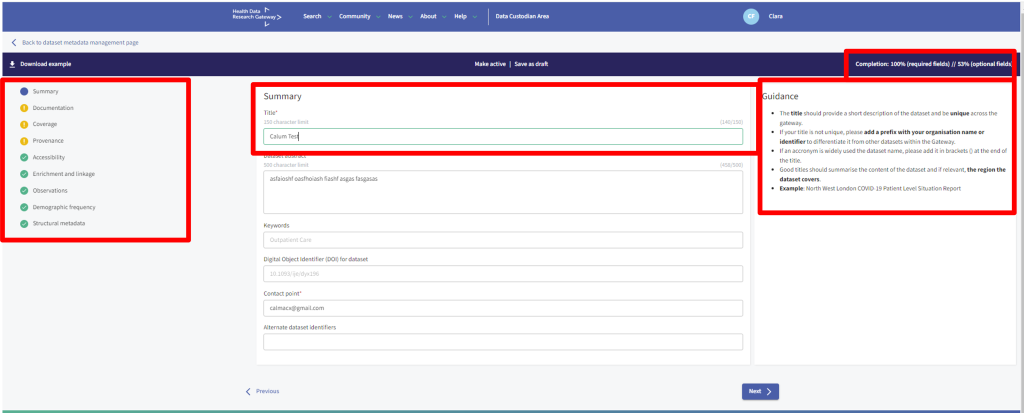
The Completion bar (top right-hand side) shows the % completion status for both required fields and optional fields in all sections and illustrates your progress through the onboarding process.
Guidance on how to complete each field is available on the right-hand side when you click into a field. An asterisk beside the field indicates a mandatory data entry. You must complete all mandatory fields before you are allowed to make the Dataset live in the Gateway. The full Gateway metadata schema can be found here.
The metadata onboarding process is made up of nine sections:
- Summary includes the title, Dataset abstract, and specific keywords that can improve thesearch engine optimisation of the Dataset. Organisations need to provide a contact point, a dedicated email address associated with the data access request process. If no contact point is provided in this field, this field will be defaulted to the team’s support email provided in the teams setting.
- Documentation can include a rich text description that describes the Dataset including context and scope of the data and associated media using a valid URL(s) which links to media such as documents, images, presentations, videos or links to data dictionaries, profiles or dashboards. Media assets should be hosted by the organisation and organisations are required to confirm that they have permission to distribute any additional media. If a Dataset is being prepared for sharing but is not yet ready and available for researchers to apply for data access, select the Dataset pipeline status ‘Not available’.
- Coverage information includes geographic coverage, temporal coverage, cohort demographic information such as the number of people within the dataset by age, ethnicity and disease distributions to enable a deeper understanding of the Dataset content so researchers can make decisions about the relevance of the underlying data.
- Provenance information allows researchers to understand data within the context of its origins and can be an indicator of quality, authenticity and timeliness. Dataset type and Dataset sub-type are required fields.
- Accessibility information allows researchers to understand access rights, data use limitations and citation requirements, formats, and alignment with standardised data models and linkage or interoperability with toolset
- Enrichment and linkage include information about relationships to related Datasets and other entities such as Publications and Analysis Scripts and Software. The types of Dataset relationship include “Linkable”, “Derived from”, “Similar to”, and “Is Part Of”.
- Observations include information based on schema.org observation model (https://schema.org/Observation) and is used to specify a series of observations about a Dataset, such as number of persons, number of events or findings included in the Dataset. Multiple observations about the Dataset may be provided by selecting ‘+ Add another’ and users are expected to provide at least one observation.
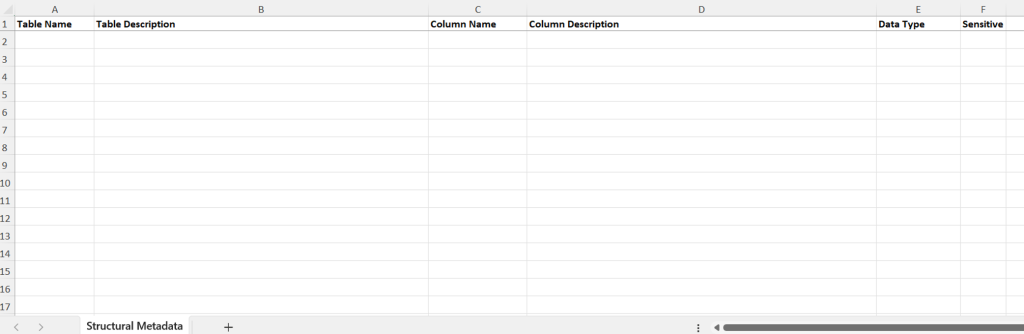
- Structural metadata is the final section of the onboarding process and is for adding a data dictionary. The data dictionary should be submitted using the data dictionary template provided in this section. To download the data dictionary template, click ‘Download data dictionary template’. The ‘download.xlsx’ template, has the same metadata fields listed: Table name, Table Description, Column Name, Column Description, Data Type and Sensitive.
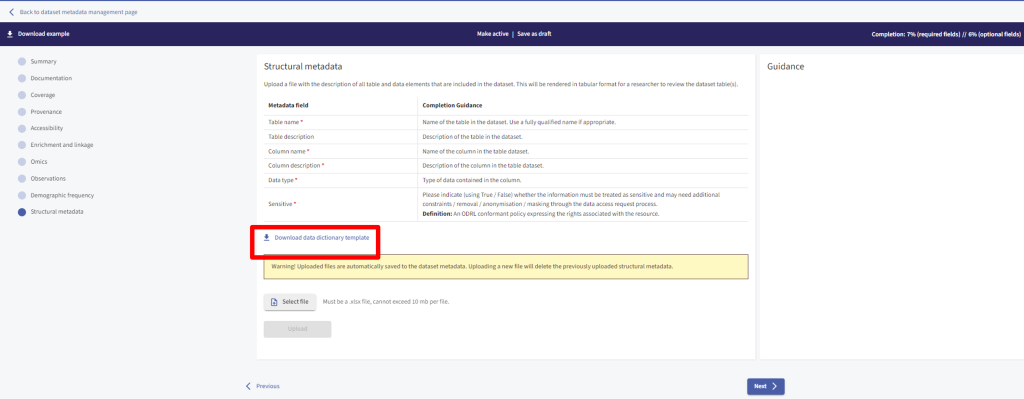
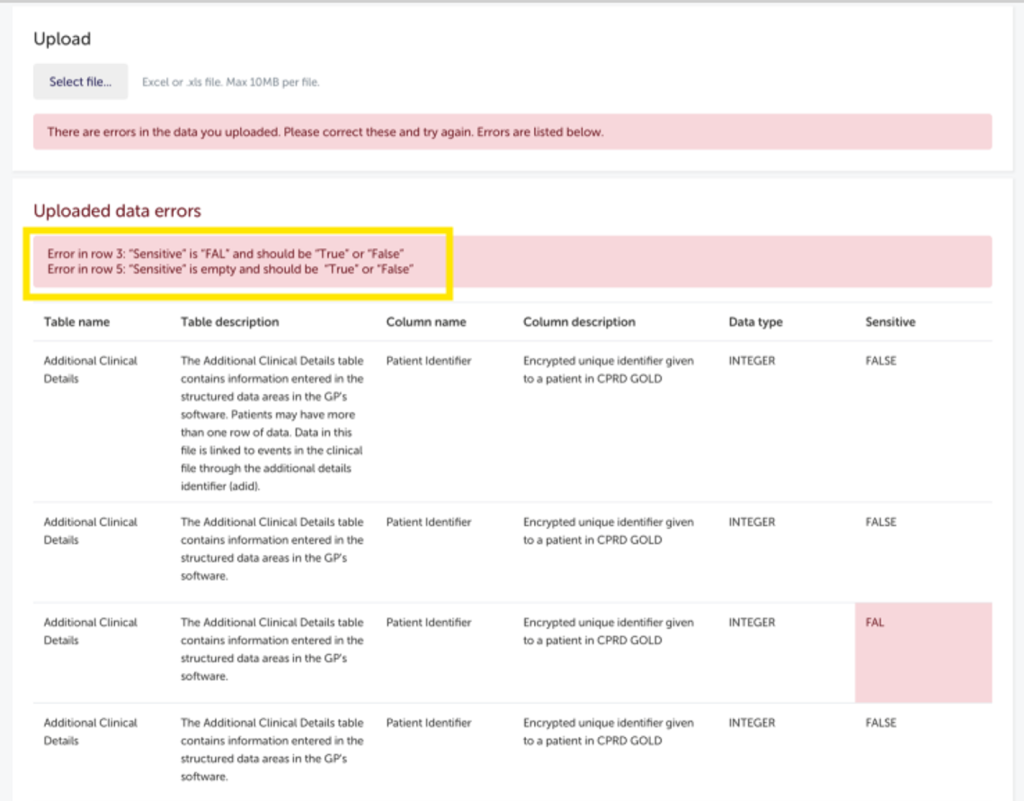
To upload a completed download template, select ‘Upload this File’. Microsoft Excel or .xls files only are accepted, and there is a file size restriction of 10 MB. Once the file is uploaded you will either see a successful upload message, or the Gateway will identify any errors.
If there are errors, you will receive a message informing you that ‘There are errors in the data you uploaded’ and to ‘Please correct these and try again’. You need to upload the file again with these errors corrected. The whole spreadsheet will be available for you to view, and it will indicate in which row and column the error is located.
(2) Uploading a metadata file to the Gateway
Note: the individual permissions Metadata Manager or Metadata Editor are required to manually input metadata or upload a .json file of metadata.
Metadata will first be uploaded in draft state, allowing you to review before selecting it to be published (made active).
To upload metadata file, select the option ‘Upload a file of metadata’
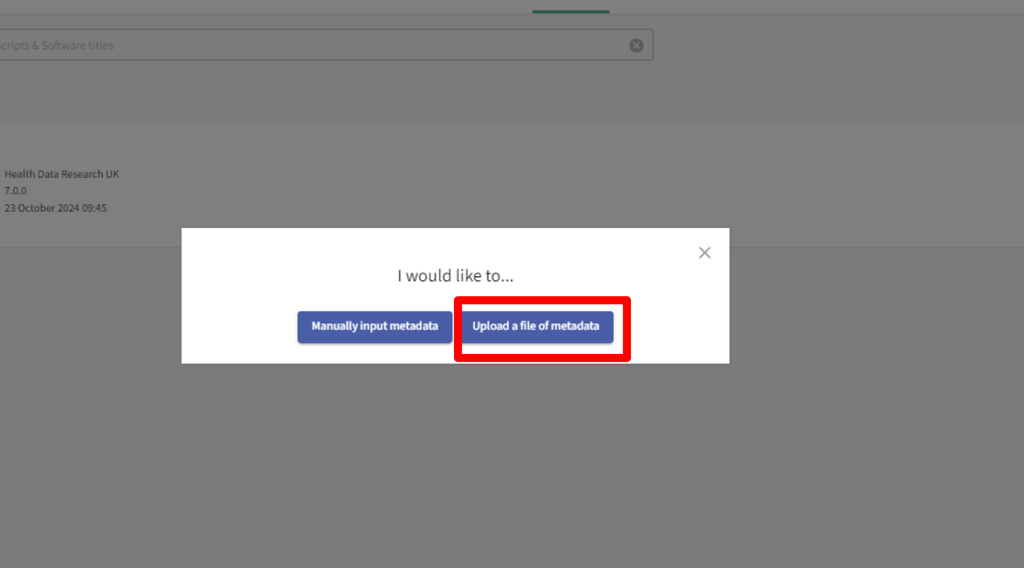
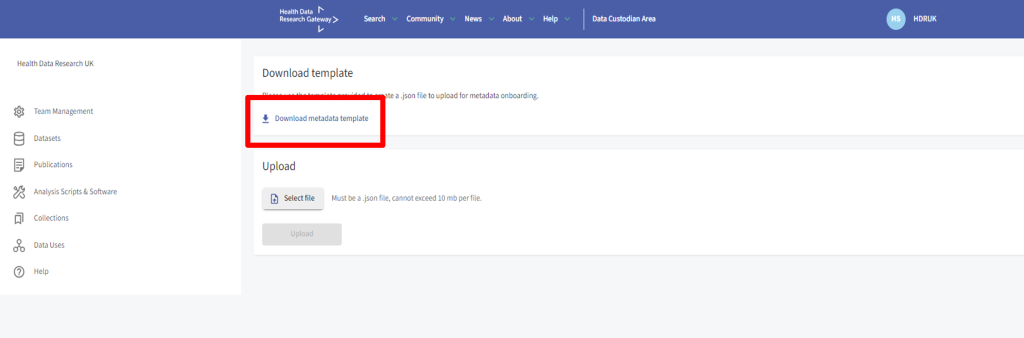
After clicking ‘Upload a file of metadata’, you will need to download the metadata template, complete it and upload the completed .json file.
Note: the uploaded .json file cannot exceed 10 MB. If the file does exceed the maximum size then you must use either the API or manual upload route.
Making a Dataset active on the Gateway
Once you have completed all the required fields and reviewed the metadata for accuracy, click the ‘Make active’ button. This action will publish the Dataset, making it live and searchable on the Gateway. Ensure that all necessary information is correct and complete before activating.

If any mandatory fields are left blank, the Gateway will alert you to provide the missing information. Please refer to each section and the % Completion for more details on the incomplete fields.

Managing Datasets on the Gateway
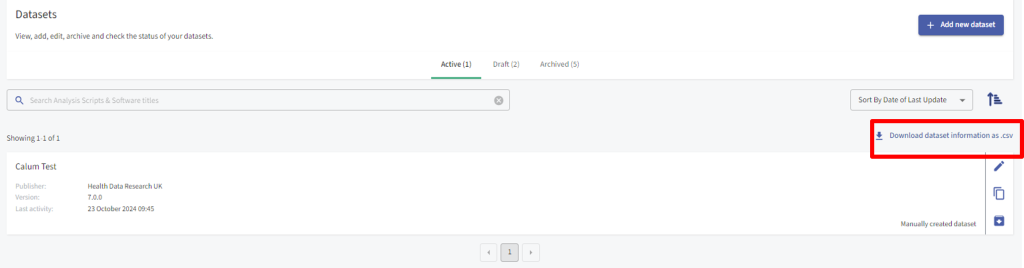
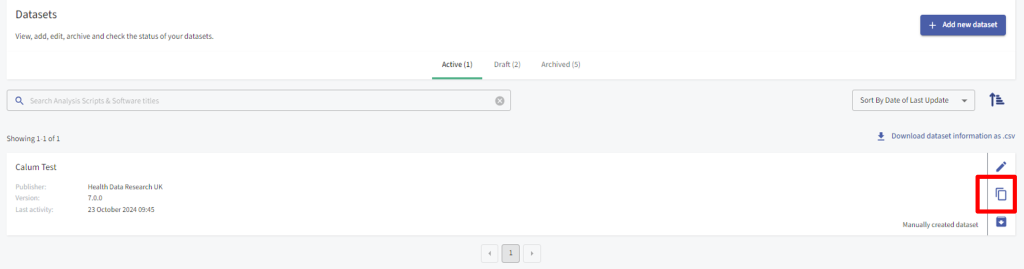
In the Datasets section of your Team page, you can view and download Dataset information as .csv, edit Dataset metadata, duplicate Dataset metadata and archive Dataset metadata so that it is no longer live in the Gateway. You can view which Datasets are active, draft or archived. Archiving your Dataset will remove it from any search results on the Gateway immediately.
To download Dataset information, select the option to ‘Download Dataset information as .csv’
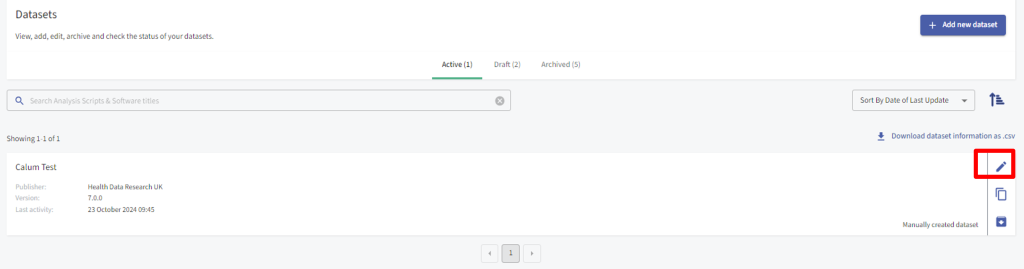
To edit a draft or active Dataset, select the option to edit Dataset metadata.
To duplicate a Dataset, and edit it, select the option to duplicate Dataset metadata.
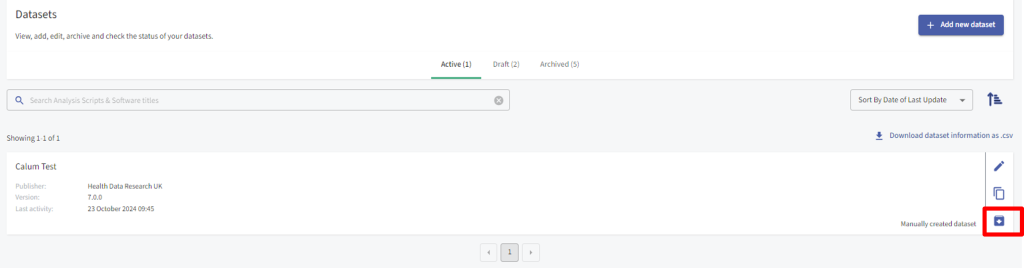
To archive a Dataset so it is no longer live on the Gateway, select the option to archive the Dataset, the Dataset will then be viewable via the ‘Archived’ tab.
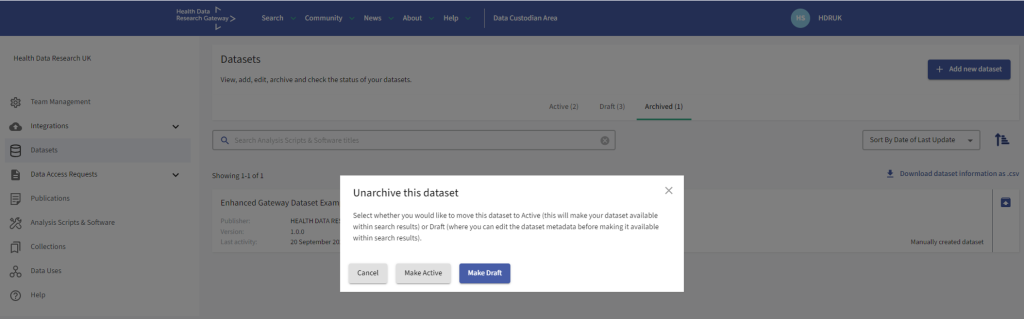
You can opt to make the Dataset active which will make the Dataset available within search results or you can opt to make the Dataset draft and further edit the Dataset metadata before making it active and available within search results.

Still can’t find what you’re looking for?
The quickest way to get your issue solved is through the links above, but if you aren’t able to find a solution then contact us here:
Contact support